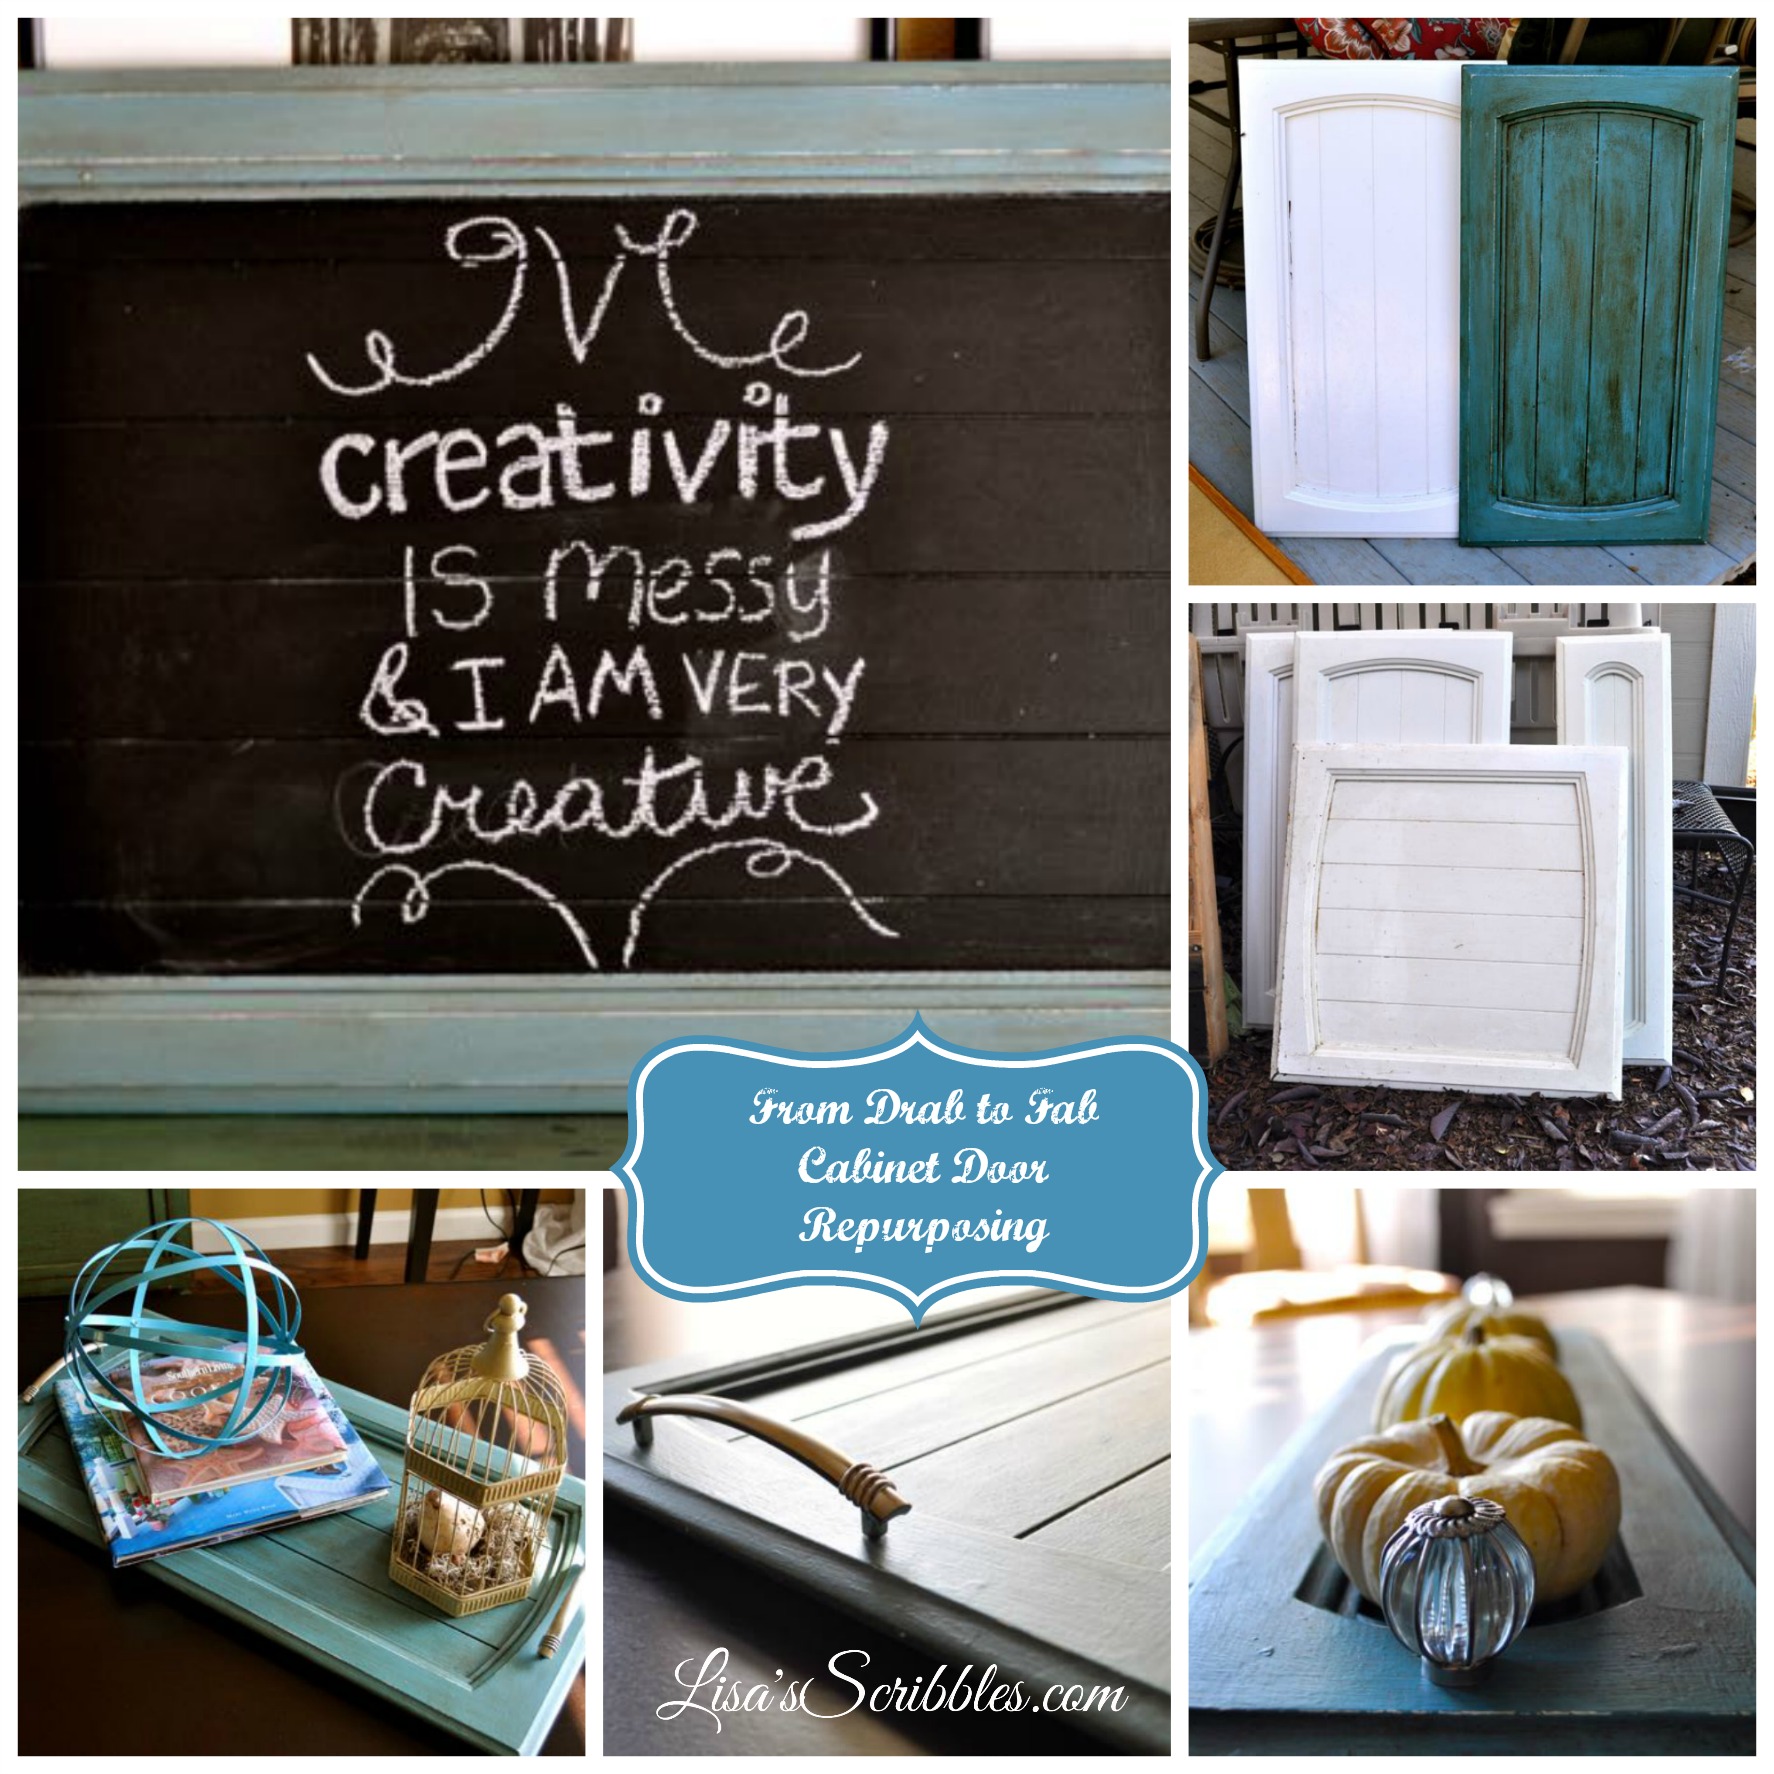
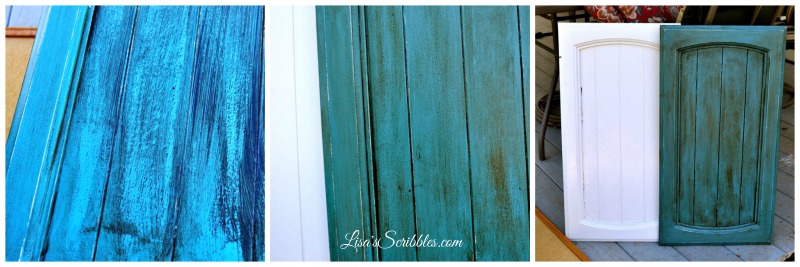
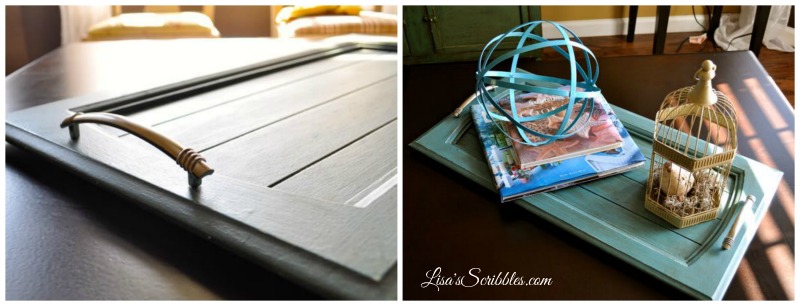
Talk about your WOW factor, these old cabinet doors from last years Wanna Be Remodel have taken a drastic turn from drab and worn out to super fabulous!
If you’ve been following me for a while you know that I did five major remodels from October 2013 to May 2015, along with me releasing 5 novels. We had my parents home in which we ripped out their old oak flooring and salvaged for our own home, you can see the post here. Then there was the Kingswood House Remodel, a former rental property that was time to sell. That was a top to bottom overhaul. After that 12 week project came the Wanna Be Remodel…and talk about a mess! It was a rental gone really wrong…I chalk it up to a lossy property management company. Oh and we weren’t done yet because we then had the Fry Rental remodel, yet again another case of terrible property management. And then the last but not least, our own house remodel. Whew…I’m tired just writing this!
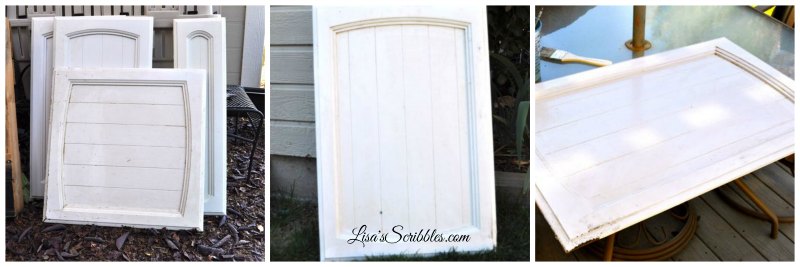
So I say all that to tell you sometimes you find a gem in all the dirt and muck, a gem that your lovely hubby rolls his eyes at and then says you figure out where to store it. Well my lovely gems came from the Wanna Be Remodel, from the kitchen cabinets to be exact! The old doors had a country charm to them that I just could resist, and I saw a new life for them to showcase the details that had too many layers of paint. They were likely original to the house, or at least 30+ years old. They had so much grime and grease on them that it took a while to get them clean. But the end result is oh so worth it!
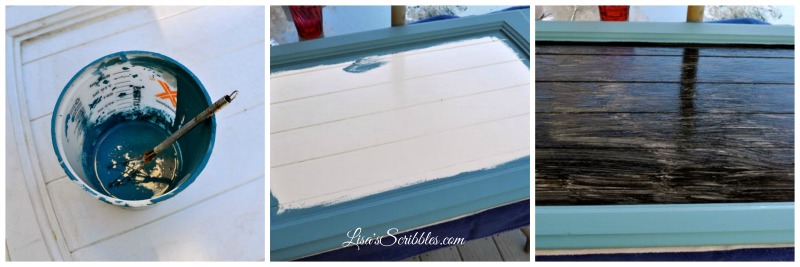
To start off with, the only prepping I did was to clean off the grim, dirt and dust from the cabinet doors, after that I went at it with some chalk paint. I choose to use what I already had on hand and pre-made from a previous project. I’d had it stored in the garage in the cupboard with only some plastic wrap covering the plastic container…four months ago! Yup, the chalk paint was still good! I just added a little water to loosen things up a little and went at it. The chalk paint recipe is from my good friend Judy at Vintage Street Designs. You’ll need a jar or container to mix it with, preferable one that a lid can be put on. Start with 1/4 cup plaster of paris (you can find this at any home improvement store in their paint area), 1/4 cup of warm water and 1 cup of flat paint the color of your choice. It’s that simple and that cheap!
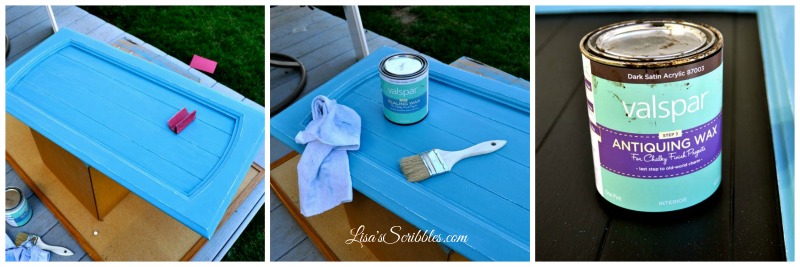
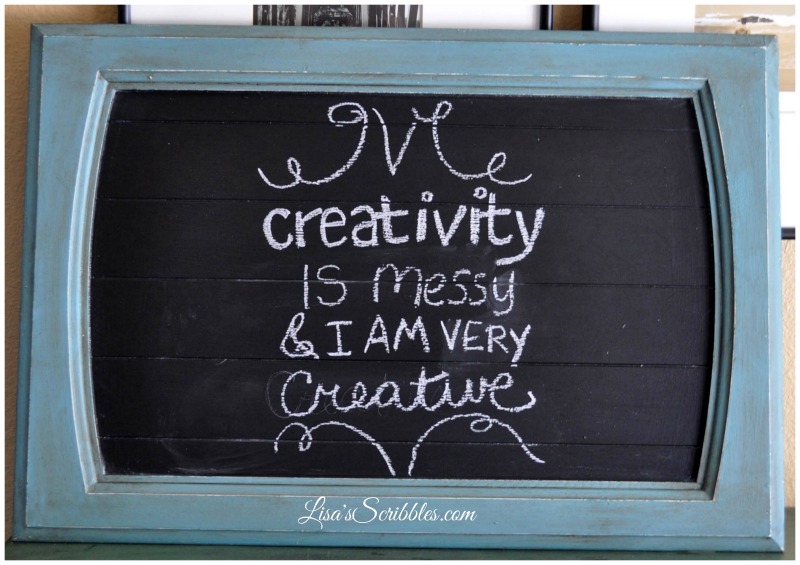
On the larger door I chose to only paint on the outer edges and used chalkboard paint for the center. Just a note, you’ll want to buy the chalkboard paint, it’s not the same as chalk paint. You’ll also need to paint a few coats to make sure it’s all covered. I then decided that I wanted the white paint underneath to show through a little bit, so I took some fine grit sandpaper and worked it over. Once done I pulled out my can of wax and went at it. My first intent was to leave them the Valspar color Flood Tide, but it just seemed a little lifeless to me so I then ended up using my antiquing wax to give it that aged finish that I’ve come to love.
Waxing is a pretty simple process. I have a special waxing brush that I use for large projects, but since this was small and I was being lazy and didn’t want to wash out my brush, I chose to use a throw-away brush, a chippy brush. If you remember the old Karate Kid movies, you’ll understand when I say, Wax on, Wax off. Okay, that probably really dates me, but it is what it is… I highly suggest you work in small areas when waxing, apply a little then rub it off to get the effect you desire. If the wax gets a little too dark, just rub it off, it’s really that simple. Just a side note, it takes a full 36 hours for the wax to fully cure, you can handle it before, but I’d suggest watching what you put on it until that time is up.
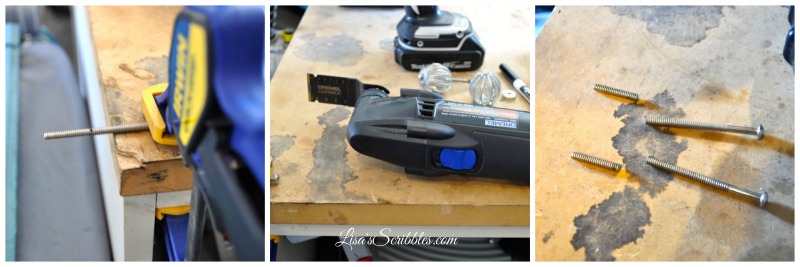
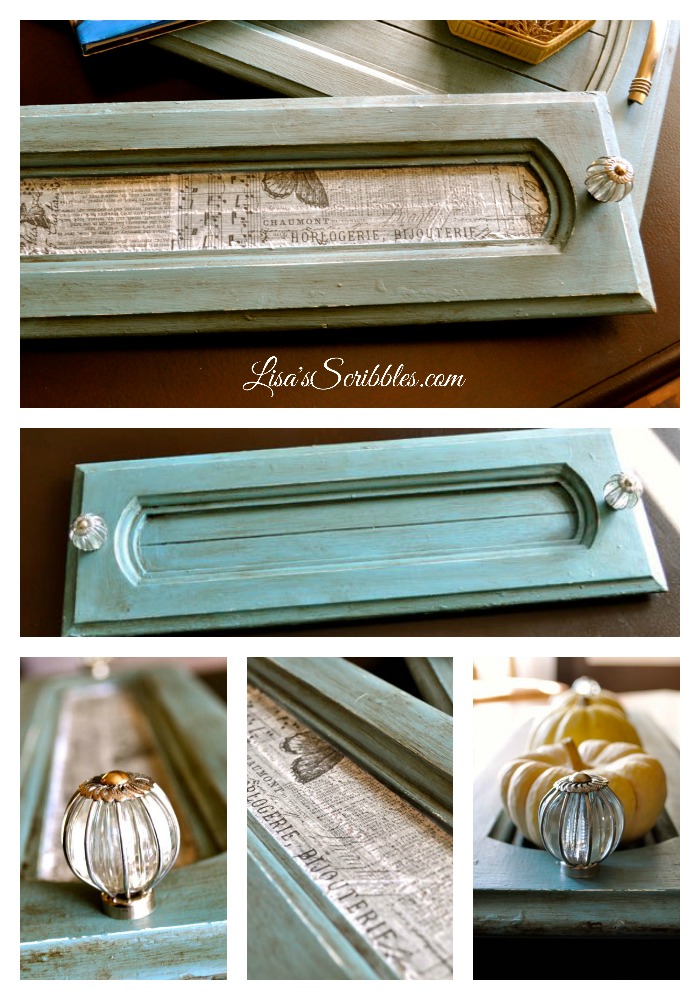
Once I finished with the waxing process, I decided they weren’t quite done yet. One of the cabinets was made into a chalk board that I plan on hanging in my kitchen, the other two were going to be trays. I tend to keep scrap pieces of materials around, and pulled out some old cabinet pulls that had been removed from a previous project. They were the right size for the larger cabinets, but the smaller one needed something size appropriate. I had the perfect glass knobs to use for the them too, however, the screws to attached them were a bit on the long side. Easy fix, I just cut them off!
Once done, I drilled some holes on the cabinets and attached the handles/knobs. I choose to use a countersink bit on the backside of the cabinets so I’d have a nice flush surface. I also added felt tabs on the backsides so it wouldn’t scratch my furniture when they sat on display.
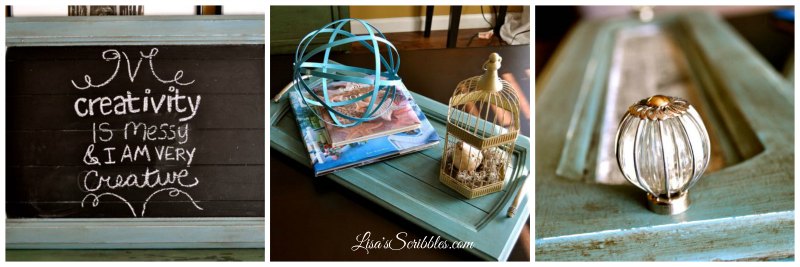
They turned out pretty fabulous, wouldn’t you say?
After finding some tissue paper on Amazon that I adored, I added it to the small tray to give that little extra something. A little tissue paper, a little modge podge… Worked, didn’t it?
And let’s not forget that final piece. The beautiful chalk board that’s going to be hanging in my kitchen soon. Gonna have to work on my chalk writing skills though…



WOW…these trays really DID turn out fabulous!!! My favorite has to be the one where you added that amazing tissue paper. What an added surprise! LOVE it!!! So sweet of you to share that you got your DIY Chalk Paint recipe from me! HUGS ~ Judy 🙂