I know it’s been over 8 months since I’ve posted last, but sometimes life happens and inspiration has to take a back seat whether it’s what we want or not…
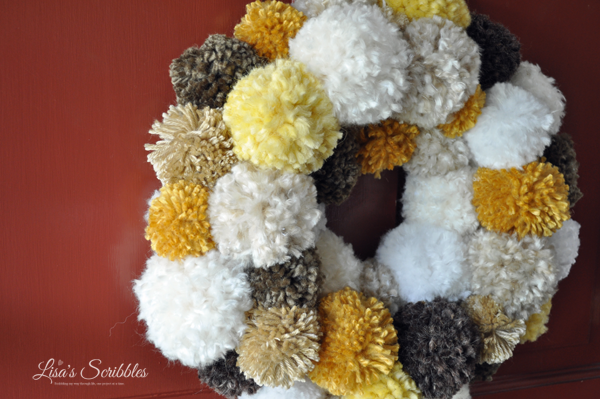
So, moving on, I just have to say that I’ve fallen in love with this cute Pom-Pom Fall wreath. It’s funny how things come back around and get an update in the process. I remember making Pom-Pom’s as a kid and putting them on my roller skates and now look at what other talented crafters are doing with them! So much inspiration to behold! I can’t say this is my original creation, as I first caught the idea from Michael’s Craft stores, but like everything I do I put my own twists on them and create something perfect for my taste. So sit back and #fallforthis cute Fall Pom-Pom Wreath!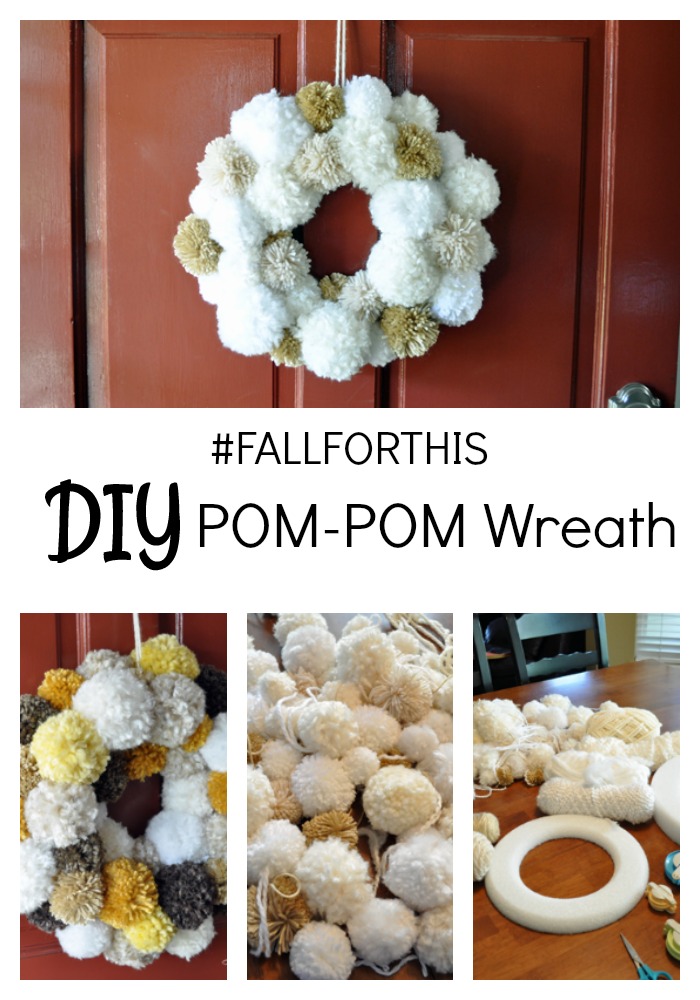
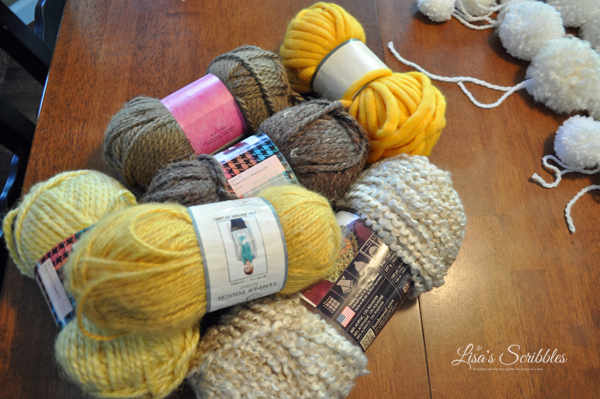
I’m first not going to say this was one of those “cheap” crafts because it wasn’t. I’m not a knitter so I didn’t have yarn on hand to use, I did have to go out and buy the yarn and I have to admit that I got a little crazy with it, cuz that’s just the way I roll when I’m in the craft stores. With all that said, I was able to use a 20% off my entire purchase coupon at Michael’s, so that helped a bit.
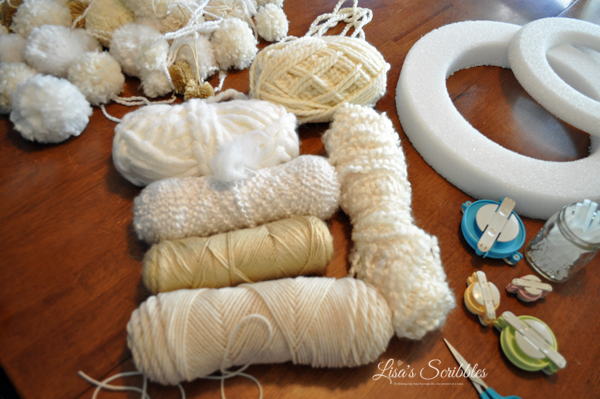
To begin with, I choose lighter colored yarn and used the smaller of the two styrofoam wreaths.
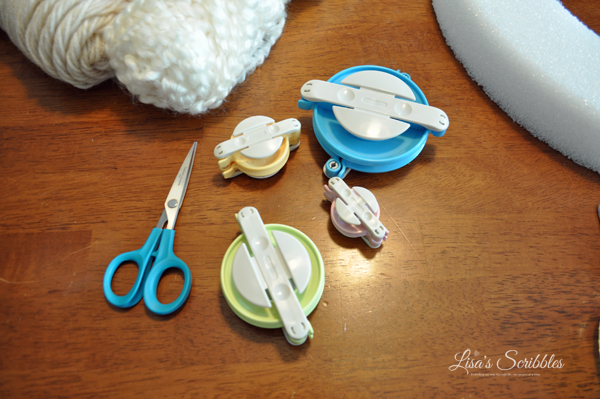
I also made an investment in these little pom-pom tools. I liked the size variations and the overall design. The directions on the package themselves were a bit confusing, but once I got the general idea of it, it went pretty smoothly. You can watch the short video I made to show you.
I know it’s a super fast video and I can hear the questions already, so I’m just to throw some answers out there… Depending on the thickness of the yarn itself determined how many times I wrapped it around the tool. Thinner yarns were wrapped 3-4 times, thicker were wrapped 2 times. I choose not to go too thick on them because I was hot gluing them to the wreath form and needed them to get a little flat on one side to lay down properly. I was lazy and didn’t want to trim down the backs of the pom-poms when I could push the fluff to the one side.
I sat in front of the tv while I wound the yarn around the tool, it didn’t take much effort and I really didn’t need to concentrate too hard on it either.
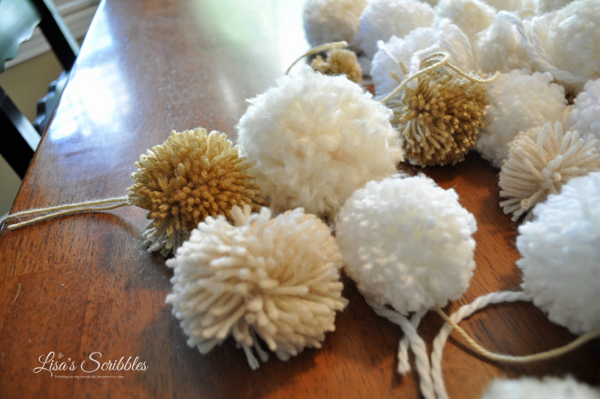
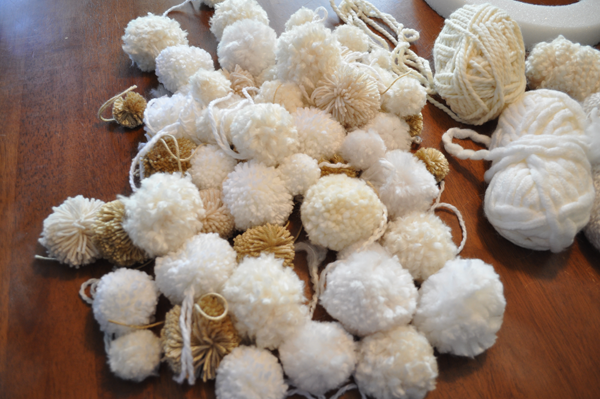
Once I had a stack of them made, I pulled them all together and then chopped off the longer pieces I used to tie them with so they’d be uniform in size when I placed them on the wreath.
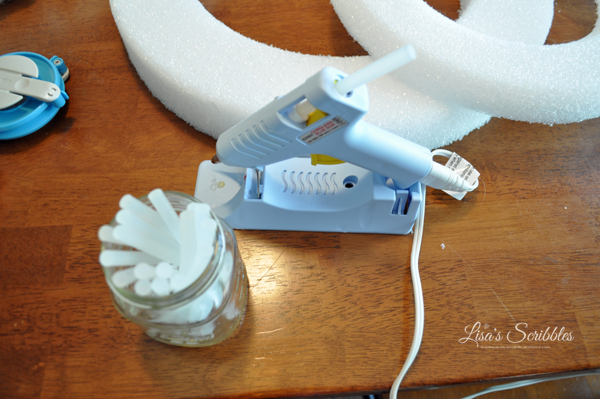
I grabbed my glue gun and got ready to attach the pom-poms.
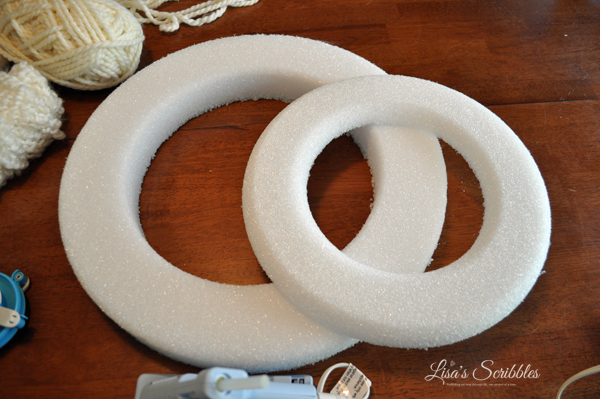
I had two different sized wreaths that I tried. I liked the smaller, half rounded wreath as I felt I didn’t have to use as many pom-poms and they lay a bit better on it as well too.
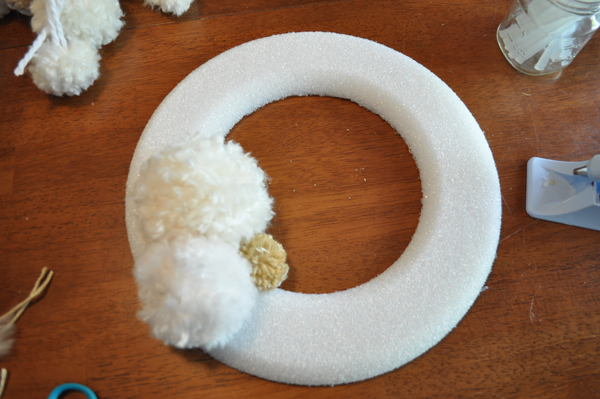
There was no particular reason for the way I placed the pom-poms on. I just eye-balled them to get the look I wanted.
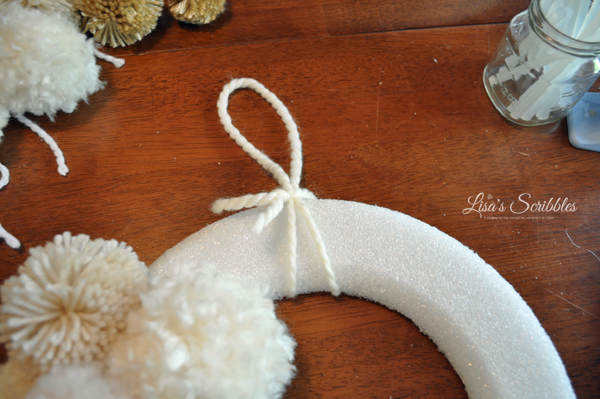
Before I got too far I added a holder to the top to hang it from. Check out my video below to watch me make the larger version of this wreath.
